
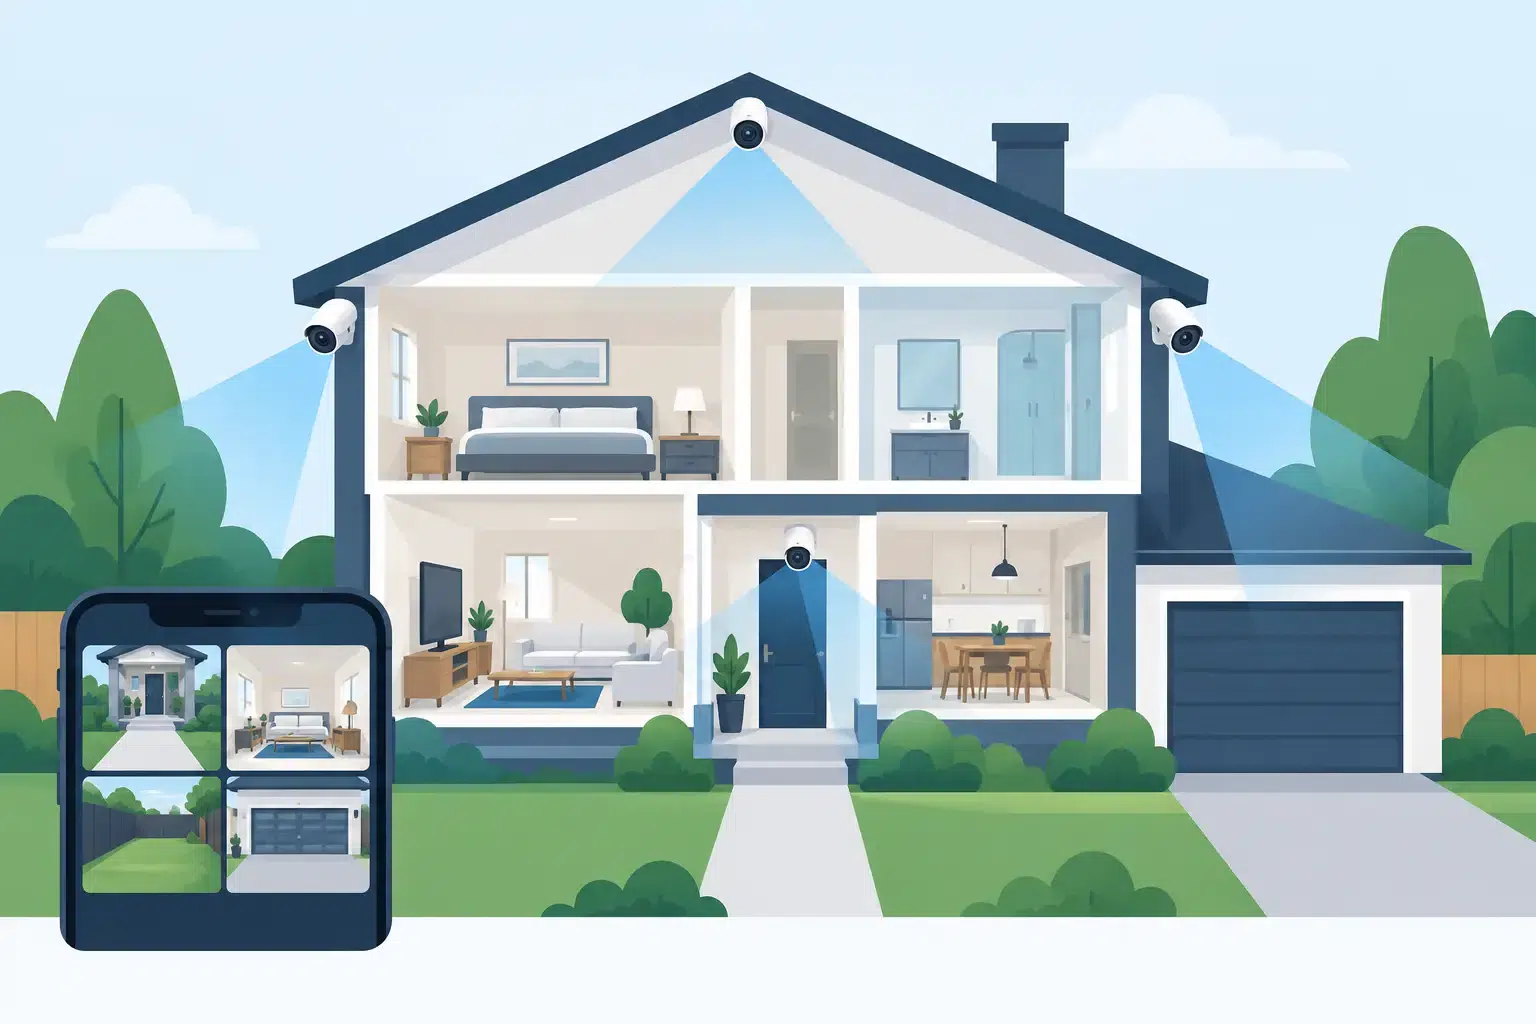
Home Security Camera Placement That Works
A camera mounted high on the front wall may look reassuring, but it can miss the person approaching from the side gate, deliver only a cap-and-hat view at the door, or be washed out by Perth’s bright afternoon sun. Effective home security camera placement is not about covering every wall. It is about creating clear, useful visibility of the places people use to enter, leave and approach your property.
For most homes, a few well-positioned cameras will provide better evidence and day-to-day awareness than a larger system installed without a plan. The right design also considers lighting, privacy, network reliability and how you will use the footage when something actually happens.
Start with the routes into your home
Walk around your property as though you were arriving for the first time. Include the obvious routes, such as the front door and driveway, but also look for side gates, rear access, laneways and paths connecting the street to the backyard. These are the zones that deserve priority.
The front entry is usually the first camera location to consider. A doorbell camera or a dedicated fixed camera should show visitors approaching, standing at the door and leaving. Positioning matters here: a camera set too high may capture the top of a person’s head rather than their face, while one aimed directly across the street may collect plenty of irrelevant activity but little useful detail at the threshold.
The driveway is the next common priority. A properly aimed camera can record vehicles arriving, people walking between a vehicle and the house, and activity around the garage. Where possible, frame the driveway entrance and parking area rather than pointing the camera solely at the street. This concentrates image quality where it is most likely to matter.
Side and rear access points are often overlooked. A locked front door offers limited protection if a person can reach an unmonitored side gate or rear sliding door without being seen. One camera covering a narrow side passage and another watching the backyard or rear door may be appropriate, depending on the layout of the block.
Home security camera placement by priority
Every home is different, but most residential systems should be designed around four core areas:
- the front door and entry path
- the driveway, garage and vehicles
- side gates or other concealed access routes
- rear doors, patios and backyard access
This does not always mean one camera per area. A wide-angle camera mounted at the corner of the home may cover the driveway and front path, for example. The trade-off is that wide views can reduce detail at a distance. If facial identification at the door or number plate visibility at the driveway entrance is important, a separate, more tightly focused camera may be the better choice.
A professional site assessment identifies these overlaps before equipment is selected. It also prevents the common mistake of purchasing cameras based on headline resolution alone. Resolution helps, but lens angle, mounting height, lighting and recording settings all affect whether footage is useful.
Mount cameras high enough, but not too high
Outdoor cameras need protection from casual tampering and accidental damage. Mounting them under eaves or at a first-storey height is often sensible, provided the angle remains practical. As a general guide, a camera mounted around 2.5 to 3 metres above ground offers a good balance between protection and facial detail.
Avoid installing every camera at the highest point of the building. From excessive height, faces become difficult to identify and the camera may look down sharply onto hats, hoods or the tops of vehicles. A lower, protected position near an entry can be more valuable than a very high camera with a broad but less detailed view.
Eaves can also provide welcome protection from rain and direct sun. In Perth’s summer heat, a shaded mounting position may reduce glare and help equipment operate more reliably over time. The camera must still have a clear line of sight, so check that guttering, beams, trees and security screens do not obstruct the image.
Plan for daylight, darkness and changing weather
A camera that produces a clear image at 10 am may struggle after sunset. Before finalising placement, consider where exterior lights, sensor lights, vehicle headlights and streetlights fall across each camera view.
Do not aim cameras directly towards low morning or afternoon sun where possible. Backlighting can turn people into silhouettes, particularly at front entries facing east or west. Adjusting the mounting location or angle slightly can make a substantial difference.
Infrared night vision is useful, but it has limits. Reflections from glass, pale walls, metal gates or nearby eaves can create flare and reduce clarity. Cameras installed behind windows are particularly unreliable at night because infrared light reflects off the glass. An outdoor-rated camera mounted externally will generally provide a far better result.
Good exterior lighting supports camera performance as well as personal safety. Motion-activated lighting can be effective around side gates, driveways and rear entries, but it should be positioned so it illuminates the area rather than shining directly into the lens.
Cover the property without compromising privacy
Security cameras should protect your household without unnecessarily intruding on neighbours or public areas. Aim cameras towards your own entrances, boundaries and assets, and avoid deliberate views into neighbouring windows, private outdoor areas or homes.
This is particularly relevant for closely spaced Perth properties, townhouses and homes with shared driveways. A camera may need to cover a gate or accessway, but its field of view can often be narrowed or digitally masked to exclude an adjacent property. Privacy masking is a valuable feature when a camera’s ideal physical position includes more of the surrounding area than you need to record.
Audio recording requires extra care. If your system captures sound, understand how and when it is being recorded, especially near boundaries or shared spaces. Clear signage can also act as a deterrent and makes visitors aware that the property is monitored.
Think beyond the camera itself
Camera location is only one part of a dependable security system. Each camera needs a reliable connection, suitable power arrangement and recording solution. Wi-Fi cameras can be convenient, but signal strength can vary through double brick walls, metal roofing, garages and larger blocks. A weak connection may lead to delayed alerts, dropouts or missing footage at the worst time.
For permanent, whole-home coverage, wired cameras are often the more reliable option. They can be professionally installed with cabling concealed where practical, connected to a network video recorder and maintained as part of an integrated alarm or access-control system. Wireless options may still suit smaller installations or locations where cabling is impractical, provided the network design has been properly checked.
Recording retention also needs consideration. If you are away for a fortnight, will the system retain enough footage? If a camera detects movement from passing traffic, pets or trees, will it generate excessive notifications and fill storage unnecessarily? Correct positioning, activity zones and motion settings reduce nuisance alerts while preserving the events you need to review.
Do not forget the garage and valuable outdoor items
Garages often hold tools, bicycles, sporting equipment and access to the home. If the garage door is visible from the driveway, a camera may already cover it. If not, consider whether a separate view of the garage entry, side personnel door or internal access door is warranted.
Outdoor equipment deserves similar attention. Sheds, pool areas, trailers and utes parked behind gates can be vulnerable when they sit outside the main camera view. The goal is not to film every corner of the yard. It is to ensure the routes to valuable assets and the points where they can be removed are visible.
Test views before making placement permanent
Before drilling or finalising a camera mount, test the view at the intended height and angle. Check live footage during daylight and again after dark. Have a family member walk from the footpath to the front door, enter through the side gate and move around the driveway. Review whether their face is visible, whether glare affects the image and whether the camera detects movement where expected.
Also test the system from the device you will actually use. A camera feed may look acceptable on a large monitor but be difficult to interpret on a mobile screen. Confirm that notifications arrive promptly, recordings can be located easily and the people in your household know how to access the system.
For homeowners who want dependable coverage without trial and error, Securitec Security can design camera positions around the specific risks, construction and daily use of the property. A tailored installation can account for cable routes, lighting, privacy and future expansion from the outset.
The best camera placement is the one that gives you a clear view of meaningful activity, day and night, without making your home harder to live in. A considered plan now can turn a set of cameras into reliable evidence, practical awareness and greater peace of mind for years to come.